Showing posts with label DIY Toots. Show all posts

Sunday, November 6, 2011

Monster Bookmark

 Okay here's the elementary school teacher coming out in me! Check out this ADORABLE bookmark that I made this weekend! It is super simple and way cute.


Here are the simple steps to making one for yourself!

1. Get an envelop and cut off one of the corners. This makes the "head" of your monster.
2. On a different colored paper, trace the triangle twice to create a square. Cut it out. This will be the rest of the head and mouth of your monster.
3. Cut out eyes and teeth and glue them onto the triangle.
4. Slide your triangle over the square to put the monster all together!


He/She makes the perfect bookmark! I want to call my monster a girl since it's pink, but are there really girly monsters?? Maybe nice girl monsters. :)


PS. After I posted this I realized that the page I had marked in my book for this picture was pretty gross...haha Sorry 'bout that errrbody! I'm reading that new Heaven Is For Real book about the little boy who describes his trip to heaven to his parents :) I'll let you know how it goes, but I've heard it's a good one!

Wednesday, September 21, 2011

{How-to #5}: Fabric Wreath

{The Fabric Wreath}

I saw a tutorial for this fabric wreath on friend Marlena's blog and knew immediately that I wanted to make one! Without further ado, here's the "toot"!

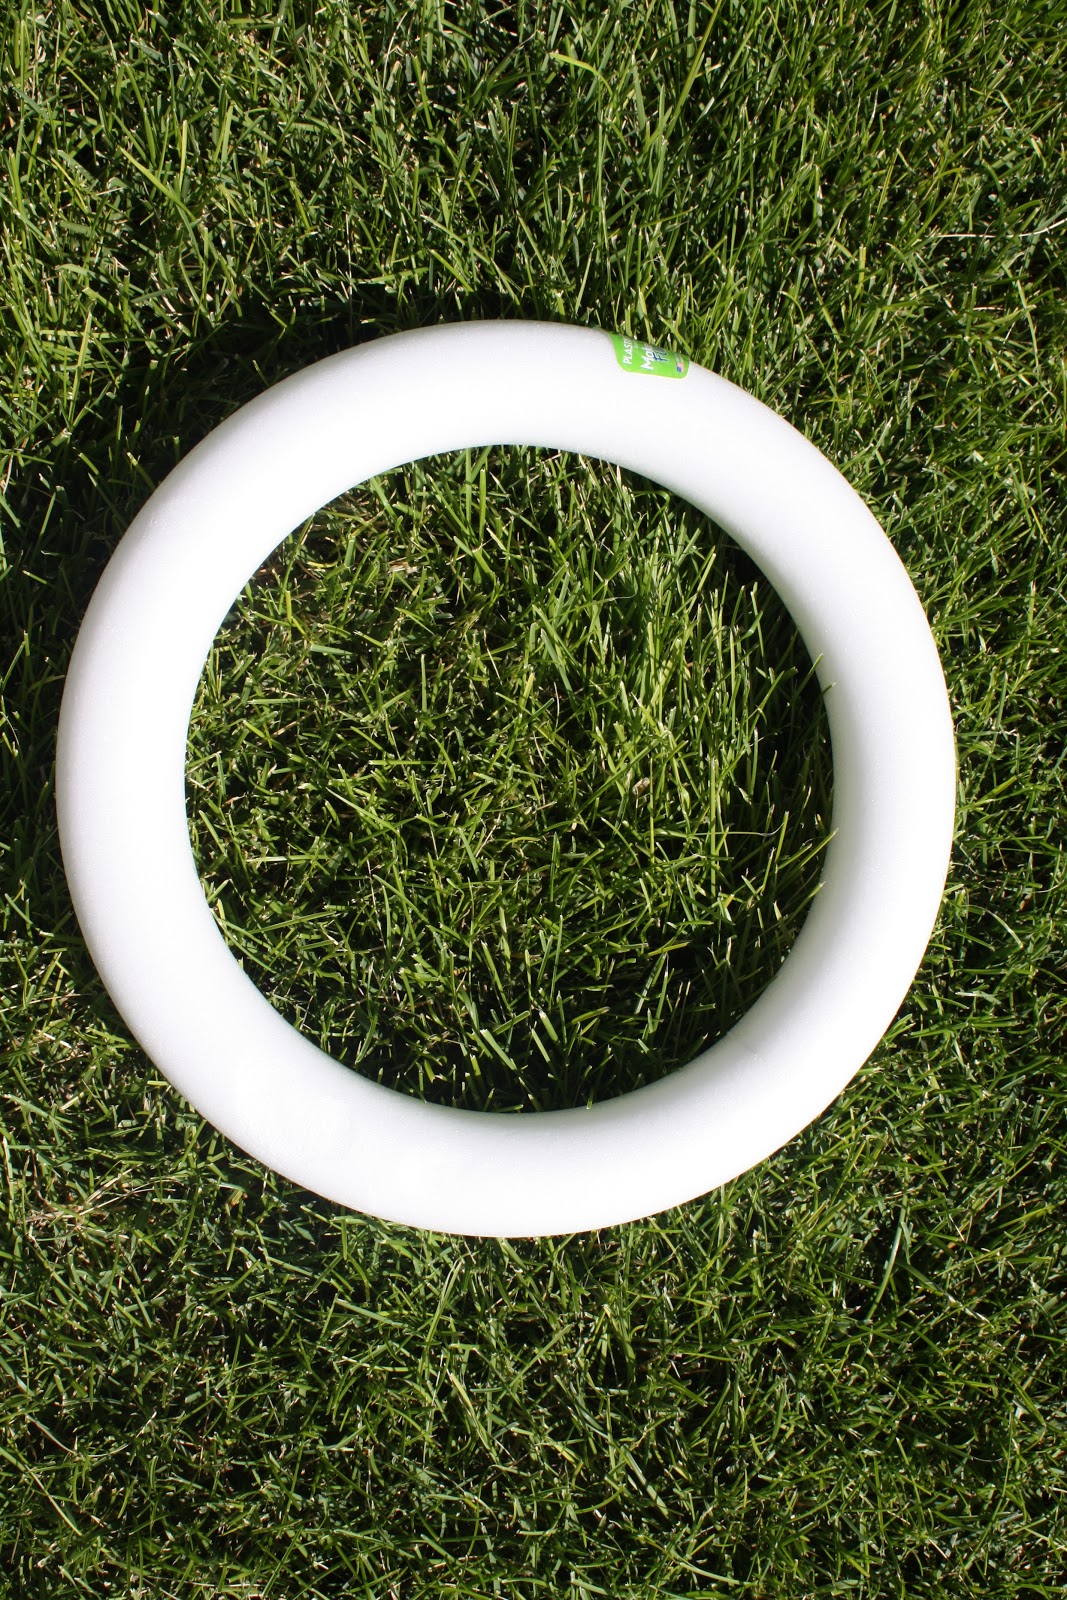
{1}. SUPPLIES: From a craft store buy 2 1/2 yards of fabric (it sounds like a lot, but trust me you'd rather have a fully filled wreath than one where you can see the styrofoam in the gaps.), and a styrofoam wreath of any size depending on your preference. You will also need a tracing marker, scissors, a hot glue gun and some type of circle to trace. (A can of olives worked great for me! :))


{2}. Start tracing circles on to your fabric. **TIP: I folded my fabric in half, and then in half again to cut 4 circles at once. This will save you a lot of time!

{3}. Cut out the circles. They do not have to be perfect because you will be folding them, however, I would recommend trying to get them in somewhat of a circular shape :) Just don't be a perfectionist.
 Lots and lots of circles!

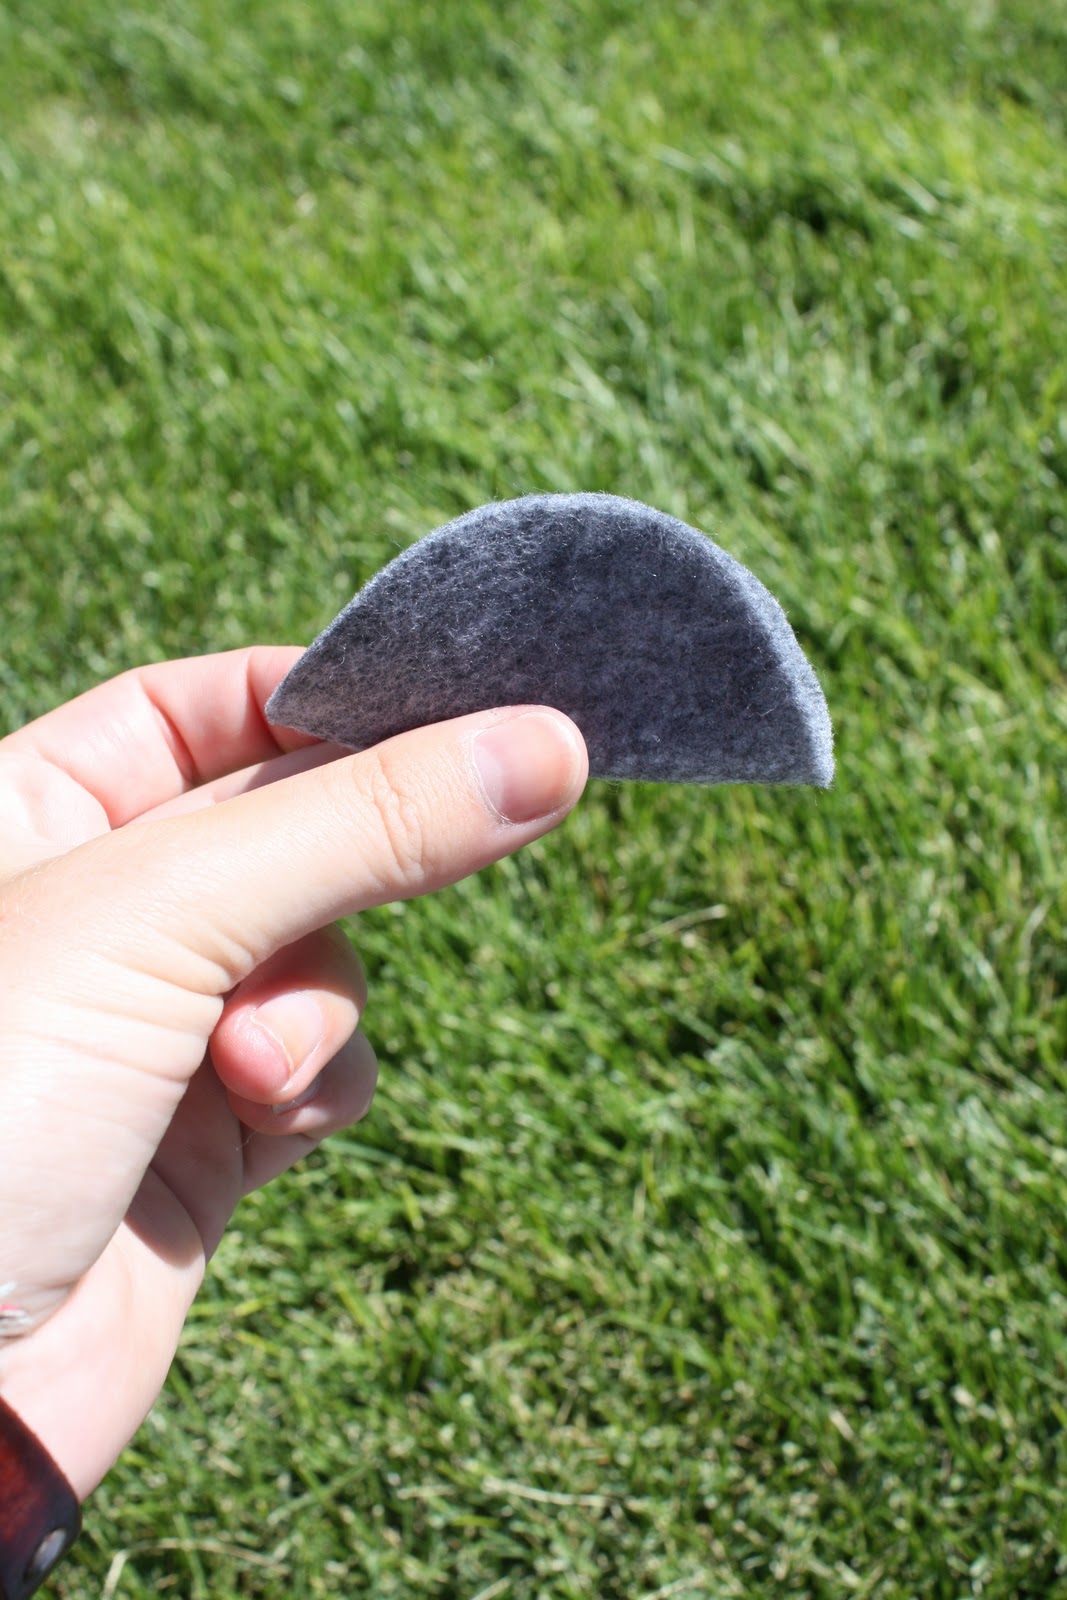
{3}. Now you are ready to start gluing! Place a small dab of hot glue in the very center of your circle and fold it in half.

{4}. Put a line of glue on the straight edge of your semicircle. (If looking at the picture above I would put a line of glue along the bottom and to the right of my thumb.) Fold in half again.
 {5}. You're circle should now look like this petal! :)

{6}. Here's where I forgot to keep taking pictures :) So let me describe this to you the best I can. Once you have formed the "petal" place a dab of glue on the point of the felt and stick it anywhere on your styrofoam circle. Repeat this process 1,000,000,000,000 times and you will have a beautiful, full wreath! :) Okay so maybe not 1,000,000,000,000 times, but just until the front, inside and circumference of your styrofoam are covered. **TIP: You do not have to cover the back of the wreath because it will most likely be hanging somewhere and the back will not be visible. Yay!


Here's my finished project! Love it!


If you want more instructions, you can look at this tutorial here. She, however, used fabric pins to attach every single "petal" and I used hot glue. Either way works great, it's up to you! I simply didn't have 1,000,000,000,000 (exaggeration again :)) fabric pins but I have tons of glue sticks so I improvised!

Let me know if you have any questions! If you end up making a fabric wreath I would love to see a picture! Maybe a red, orange, and brown one would be cute to hang on your front door for fall? I think I've found myself another project...! :) Okay for reals though, what about a black, lime green, and purple one for Halloween?! Love it. And I love new ideas! Pictures to come when I am finished with the Halloween one :)

Saturday, September 17, 2011

{How-to #4}: Earring Holder

 {Earring Holder}

Can anyone guess what this "earring holder" once was used for? If you guessed a spice rack you are correcto mundo (moon-dough)! I got this bad boy at the D.I. for only $0.50!!! Since the "toot" just consists of spray painting, I'm going to let you just go crazy on your own! Look for the cheapest spice holder you can find, pick your favorite color of spray paint and voila!


 This is a very practical and convenient way to display your earrings. They don't get lost and you have a clear view of all your choices for the day :) I'm a fan.


{How-to #3}: Frames!

{ Frames}
Having frames in my space is essential for how many pictures I take, so why not make them cute? :) And even better than cute each of these frames were $1 or less thanks to the D.I. and dollar store! Look below for an easy "toot" on making a frame collage on your wall!


{1.} Like I said, all of these frames were purchased for $1 or less at the D.I. (similar to a Goodwill or Savers) and dollar store. While looking for frames I tend to keep my eye out for ones with chunk and unique designs. The frame below is a perfect example of this! I love all of the details on this dollar store frame!


{2.} Once you've purchased your frames, you are ready to spray paint them to match! Most of my frames start out as gold, but with the glorious invention of spray paint they are now all pink. I lay out my frames in a well-ventilated area (a.k.a. garage or back patio) and start going to town with my can of spray paint. I tend to do about 2 or 3 coats, but it just depends on the desired color.

{3.} Now you are ready to hang them up! If you have a large undecorated wall, frames take up the perfect amount of space and are fun for guests to look at! My frame wall used to consist of this in my old apartment....
An honorary Jazz wall with all the pictures of me and Jazz players! It was a very fun way to add some personality to my wall :) This year I have changed them out to include some of my favorite photos. Whatever you decide to put in your frames is up to you, but whatever it is make it YOU!

Peace. I've gotta do some homework before the big RIVALRY GAME tonight!!! :) Woooo! Go Cougs!

Watch this.

Wednesday, September 14, 2011

{How-to #2}: Pillows

On to our second DIY "toot" from my bedroom post!

{PILLOWS}
During our room renovations, my friends and I thought it would be fun to whip out the sewing machine and make some of our own pillows with coordinating fabric to match our bedspreads. Now to be honest, my friend Michelle sewed my pillow since I'm not the pro with the stupid sewing machine. But here's what she did....get ready.....it's super hard......not really....it's super simple.

{1.}Cut out the shape of pillow you want from your fabric. Now place that cut out on top of your fabric to cut a second identical piece.

{2.} Lie your two pieces perfectly on top of each other and sew a basic stitch around 3 sides, leaving the 4th open to stuff.

{3.}"Then, you stuff." -Sandlot
Just like in my IKEA frame toot, I use this cheap stuffing from Hobby Lobby. **Tip, the more stuffing you use the better the pillow will turn out because it will hold shape better & longer. After using my pillow for the last year, it's begun to get a little floppy and I wish I would've added more stuffing.

{4.} Now you just sew off the opening and you're all done!


Look at all those pillows we made! And there I am in the middle with my IKEA frame from the {How-to #1} post! (**This is what the frame looks like before you add the ribbon && other small decorations)

That's all folks! Easy Peasy! Okay this is super random, but watch this video....you'll have a new appreciation for the phrase "easy peasy"!!!


"Easy peasy! Nice and easy! Light and breezy! Mmmmm delicious! Now that's it. Now THAT was it." Hahahahaha oh this still makes me pee my pants laugh every time I watch it. Enjoi.

{How-to #1}: IKEA Frame

Goooooood morning errrrrbody! It's time for the first bedroom how-to from this post! 

{The IKEA "Queen Frame"}


Last summer when I was trying to redecorate my room I, of course, made a trip to IKEA to get ideas and buy a few things. When I saw this big beauty I knew I just had to have it! The only problem was that it was black and my room colors were aqua, pink, and white. So.....I bought some spray paint and went to town! Here's a step by step instruction on how to turn a big black frame into an eye catching decoration!

{1.} SPRAY PAINT: My first step was to spray paint the frame white...this took a long time and lots of patience because I didn't start out as the world's best spray painter. I have found that if it doesn't look right, just add another coat until it does :) Once it is spray painted, you are ready to rock n roll with the center piece. 

{2.} CENTER PIECE: Get fabric to cover the whole oval area + a little extra to staple around the back. Start stapling the fabric to a perfectly sized piece of cardboard (lucky for us, this exact IKEA frame already comes with a perfectly sized piece of glass and cardboard; for this project, I threw away the glass and used the cardboard backing) . Once you have stapled about 3/4 of the fabric to the cardboard backing, start stuffing it with cheap pillow stuffing. (I bought some for $2.99 at Hobby Lobby plus you can use one of their weekly 40% off coupons!) I stuffed my center until it was round and fluffy, but there is no particular amount you should use. Once it is stuffed to your liking, close the rest of it up by stapling it shut.

Next, I criss-crossed four strands of ribbon and stapled each strand on the back. I was originally going to leave my decoration at this point so I could use it as a cork board/ picture holder, but then I got the idea to decorate it with my fabric rosettes instead. So ladies and gents, it is up to you! If you want to use it to hold to-do lists, pictures, notes, etc., then you are all finished! If you are like me, and want to use it as a decoration then add some flowers to spruce it up! Voila! You are finished and have a statement piece for any room in your house!

If you have any questions please send me over an email

Peace. 


Saturday, June 18, 2011

DIY Fabric Flower Shirt ♥

i ♥ to make my own shirts.
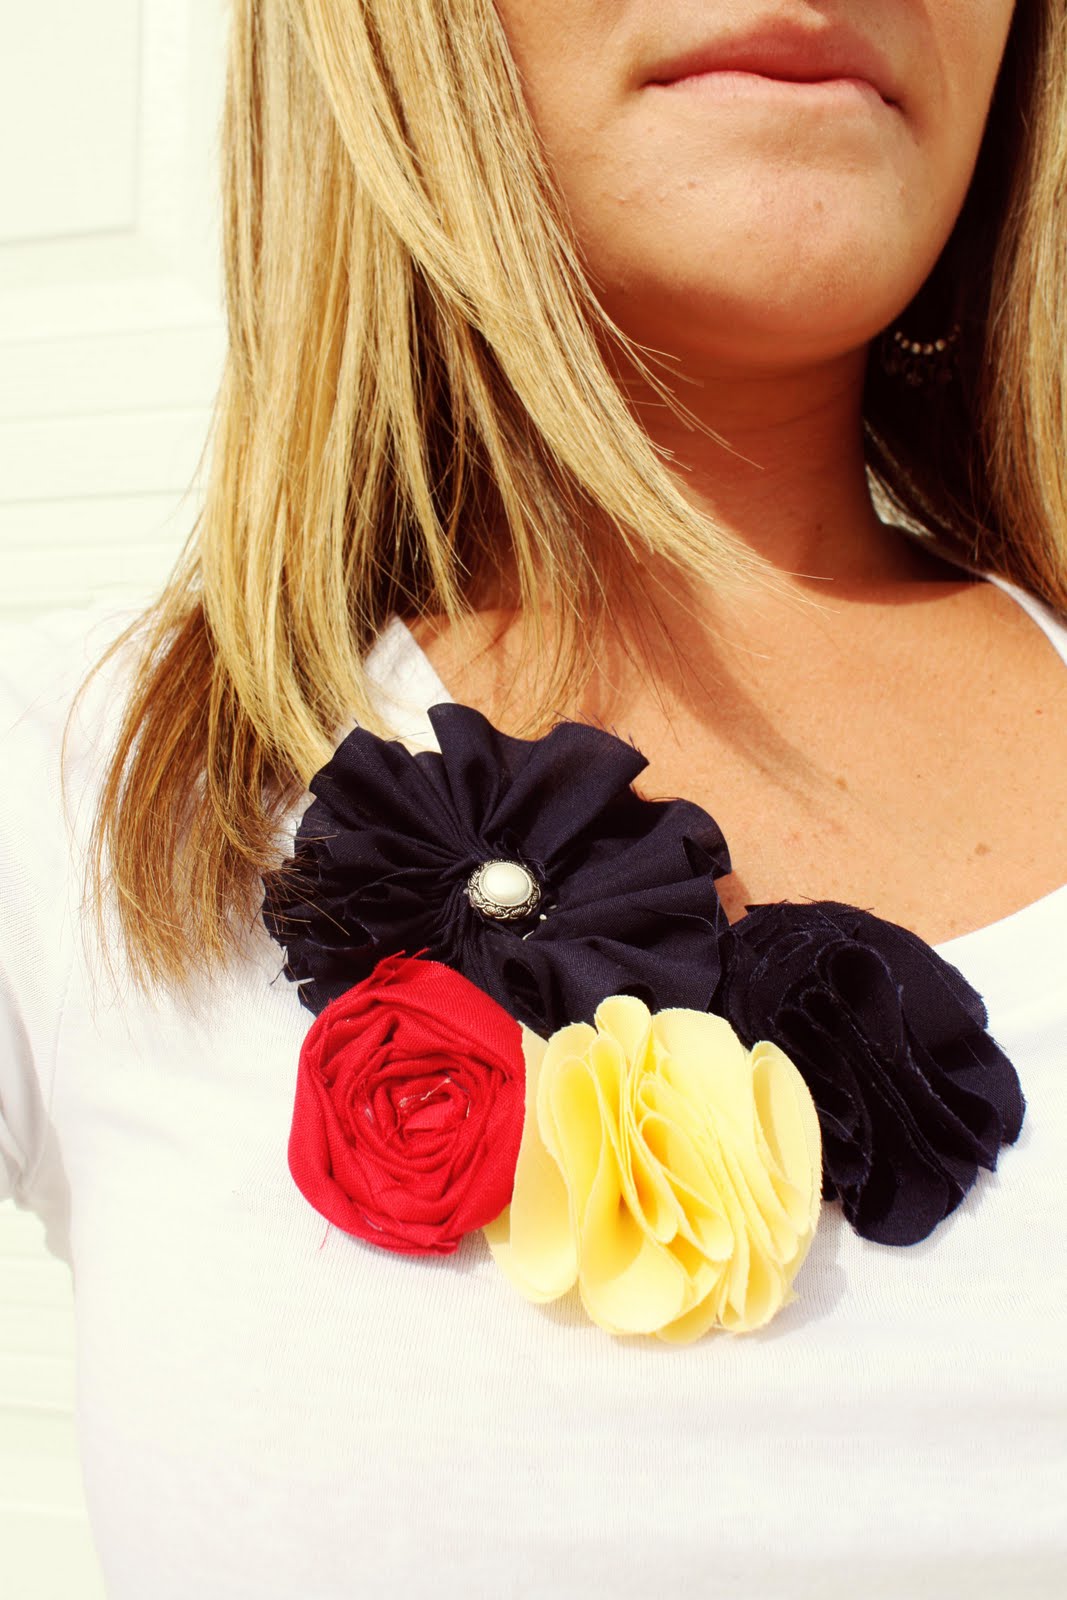
today i bought a super cute skirt from forever 21 but didn't know what to wear with it since the pattern was kind of overpowering. i decided to just wear a plain t with the skirt, but wanted to add a lil spice. this is what i came up with.
likey? me also.
here's a diy tutorial so you can make your own shirts too!

{1}. buy a plain t shirt. forever 21 has the cheapest plain shirts! check it out - $3.50!

{2} next i made the flowers for the shirts. i used this flower tutorial no. 2 for some of my flowers so check it out! it's super easy and i decided to link the 'toot' instead of re-explaining it.
below is a description of how I made the larger flowers.
-cut a 2 in. strip of fabric.
-weave in and out of your fabric sewing the stitch close to the bottom as seen below.

- pull the string all the way through every so often to cinch the fabric.
-continue to do these 2 steps until you reach the very end of your strip.
- now you have a cinched flower waiting to bloom!
-fan the flower out and play with it until it looks just right.
-next glue the beginning and end strips together to form your final product.
-embellish with a center piece to cover any holes or imperfections.
(note: on my final product, i switched the big red embellished flower to a blue one :) if you're paying super close attention, i didn't want that to confuse you.)

{3}. once you've created all the flowers you want for your shirt go ahead and pin them where you want on the shirt.
**tip: it helps to try the shirt on and place the flowers while you are actually wearing the shirt because then you can see exactly where the flowers will lie. i end up pinning and repining about a thousand times until i find the combo that i like the best.
{4}. now that you've pinned your flowers, go ahead and sew them onto the shirt! i'm not a professional seamstress by any means so my shirts end up looking super messy from the inside but hey, nobody sees the inside anyways so it's all good! :)
{5}. wear it happily ♥

**washing tip: once you've sewed the flowers on to the shirt be super careful not to wash the shirt like normal. for instance, with this shirt i'm almost 100% sure that if i washed it normally, the blue and red flowers would bleed onto my white shirt. this would not be cool. another reason why you shouldn't wash it normally is because the flowers will shrink (trial and error people) and get messy. in order to still keep good hygiene while wearing these fashionable tee's i've been using these:
all you have to do is cut one of the dry cleaning sheets in half and put it in the dryer with your shirt! voila! a clean shirt without using water!

now go on and try this for yourself people! these shirts are so much fun to make and they're SO original! i get so many compliments every time i wear one of my hand created shirts.
good luck and if you have questions don't hesitate to ask me! :)
happy sewing.