I was browsing the site of one of my favorite scrapbookers {Maggie Holmes} and found this adorable class that she is holding over at Studio Calico starting March 1st! It is titled "Happy Little Moments" and I can only imagine that it is all about highlighting the little things in life that make us happy! What a better way to remember these memories than to decorate them in an old book?! Wow I'm in love. Check it out!
Isn't this the cutest idea ever!? Yeah I signed up. To do the same, go HERE. I will definitely keep you all posted on my book and can't wait for this class to start in a couple days! :)
In order for me to be successful with achieving my new year's resolutions I have to have some way of tracking my progress or else I always fail. Last year I made a small monthly checklist that hung on my bulletin board in my room. This small and simple piece of paper helped remind me each and every day to work on my resolutions and achieve those goals I set for myself.
This year I went a little more creative with my resolution checklist, but it seriously only took me 20 minutes tops.
I had a plain mini album I purchased from Roberts (HOO-RAH for them going out of business and having a 75% off sale, but SAD that we won't have them anymore :( ) and then I mod podged some paper on the front & back covers.
Next, I added a title page with a oh-so-handy black pen.
Now comes the month-by-month checklist to hold me accountable for each resolution. It is funny how such a simple blank box can motivate me to accomplish big things! haha
Easy peasy right? I'd say so! And I encourage everyone who has made new year resolutions to find some way of tracking them to hold yourself accountable! It works!
Once again, happy "resoluting"!
I saw a tutorial for this fabric wreath on friend Marlena's blog and knew immediately that I wanted to make one! Without further ado, here's the "toot"!
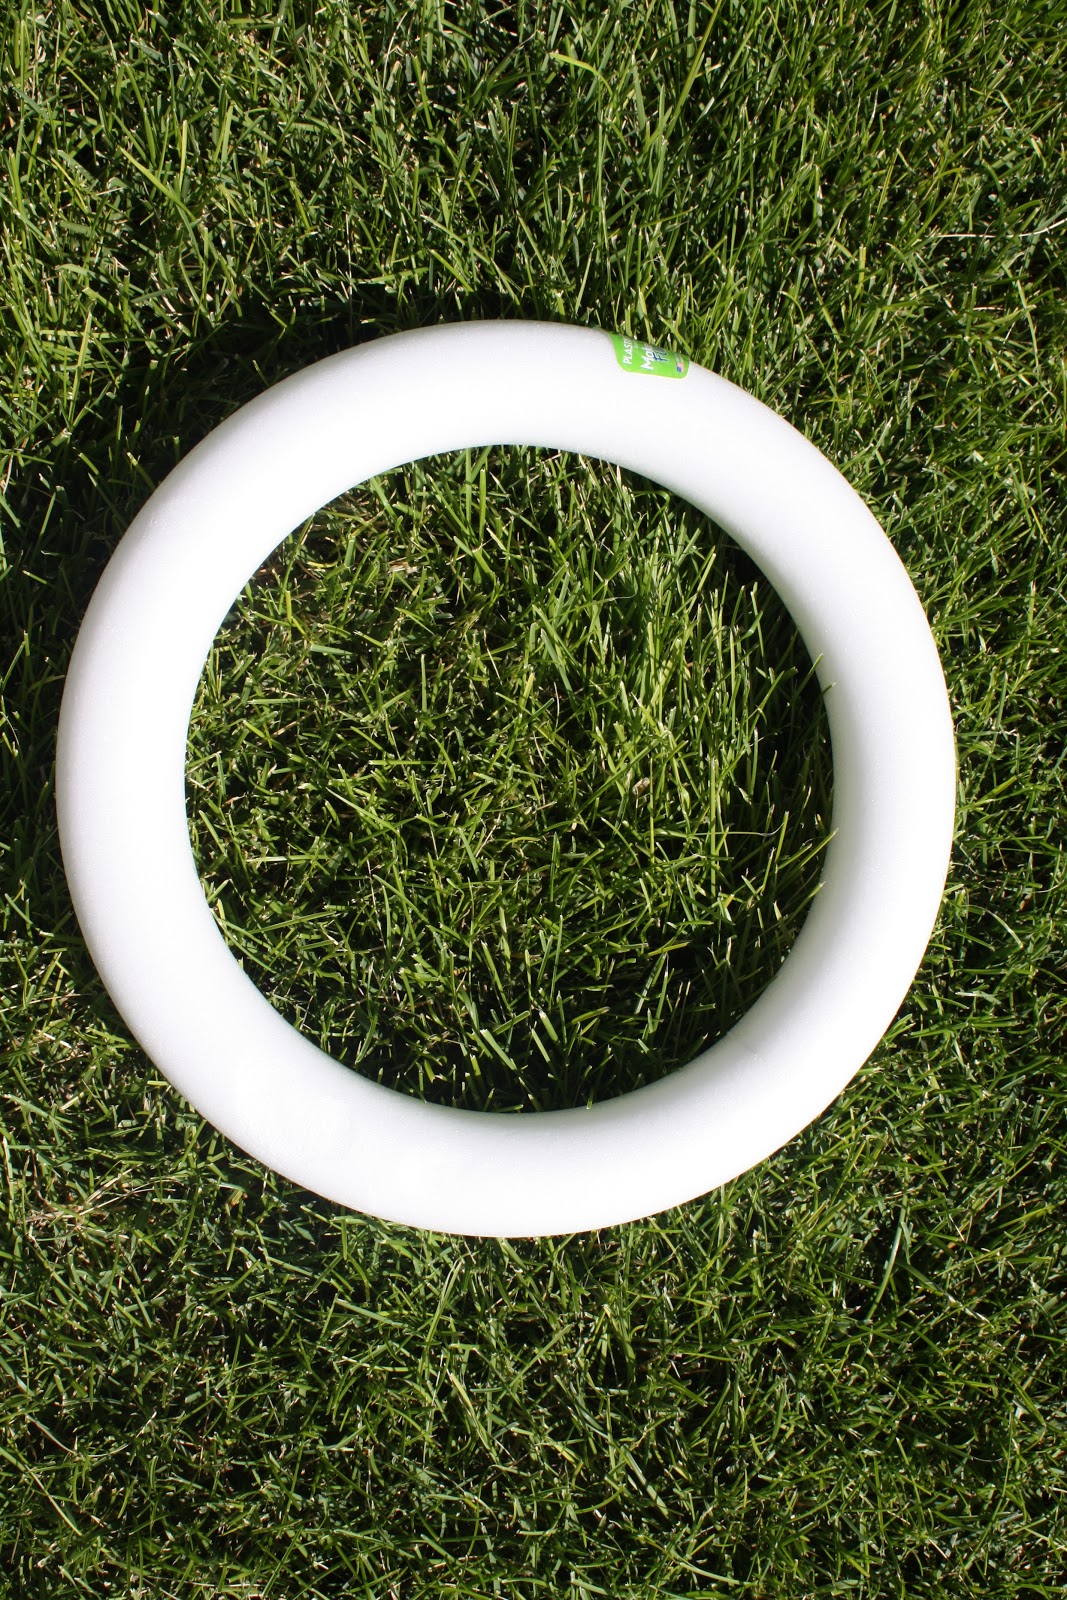
{1}. SUPPLIES: From a craft store buy 2 1/2 yards of fabric (it sounds like a lot, but trust me you'd rather have a fully filled wreath than one where you can see the styrofoam in the gaps.), and a styrofoam wreath of any size depending on your preference. You will also need a tracing marker, scissors, a hot glue gun and some type of circle to trace. (A can of olives worked great for me! :))
{2}. Start tracing circles on to your fabric. **TIP: I folded my fabric in half, and then in half again to cut 4 circles at once. This will save you a lot of time!
{3}. Cut out the circles. They do not have to be perfect because you will be folding them, however, I would recommend trying to get them in somewhat of a circular shape :) Just don't be a perfectionist.
Lots and lots of circles!
{3}. Now you are ready to start gluing! Place a small dab of hot glue in the very center of your circle and fold it in half.
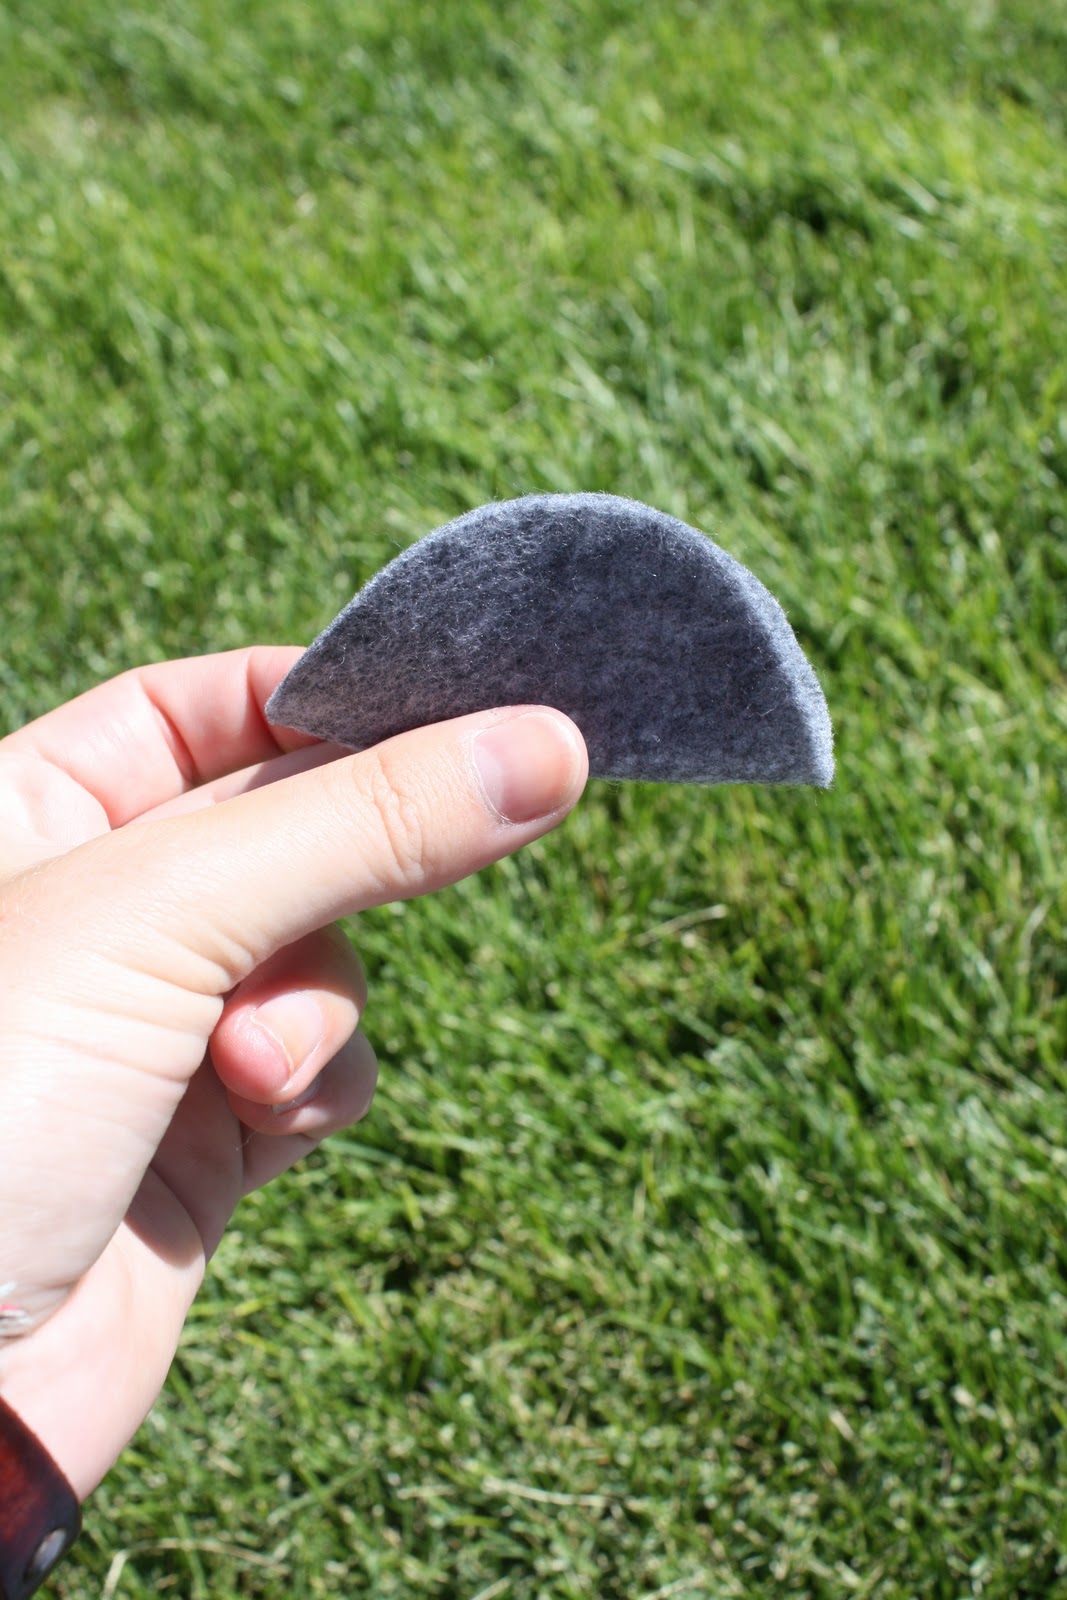
{4}. Put a line of glue on the straight edge of your semicircle. (If looking at the picture above I would put a line of glue along the bottom and to the right of my thumb.) Fold in half again.
{5}. You're circle should now look like this petal! :)
{6}. Here's where I forgot to keep taking pictures :) So let me describe this to you the best I can. Once you have formed the "petal" place a dab of glue on the point of the felt and stick it anywhere on your styrofoam circle. Repeat this process 1,000,000,000,000 times and you will have a beautiful, full wreath! :) Okay so maybe not 1,000,000,000,000 times, but just until the front, inside and circumference of your styrofoam are covered. **TIP: You do not have to cover the back of the wreath because it will most likely be hanging somewhere and the back will not be visible. Yay!
Here's my finished project! Love it!
If you want more instructions, you can look at this tutorial here. She, however, used fabric pins to attach every single "petal" and I used hot glue. Either way works great, it's up to you! I simply didn't have 1,000,000,000,000 (exaggeration again :)) fabric pins but I have tons of glue sticks so I improvised!
Let me know if you have any questions! If you end up making a fabric wreath I would love to see a picture! Maybe a red, orange, and brown one would be cute to hang on your front door for fall? I think I've found myself another project...! :) Okay for reals though, what about a black, lime green, and purple one for Halloween?! Love it. And I love new ideas! Pictures to come when I am finished with the Halloween one :)
Goooooood morning errrrrbody! It's time for the first bedroom how-to from this post!
{The IKEA "Queen Frame"}
Last summer when I was trying to redecorate my room I, of course, made a trip to IKEA to get ideas and buy a few things. When I saw this big beauty I knew I just had to have it! The only problem was that it was black and my room colors were aqua, pink, and white. So.....I bought some spray paint and went to town! Here's a step by step instruction on how to turn a big black frame into an eye catching decoration!
{1.} SPRAY PAINT: My first step was to spray paint the frame white...this took a long time and lots of patience because I didn't start out as the world's best spray painter. I have found that if it doesn't look right, just add another coat until it does :) Once it is spray painted, you are ready to rock n roll with the center piece.
{2.} CENTER PIECE: Get fabric to cover the whole oval area + a little extra to staple around the back. Start stapling the fabric to a perfectly sized piece of cardboard (lucky for us, this exact IKEA frame already comes with a perfectly sized piece of glass and cardboard; for this project, I threw away the glass and used the cardboard backing) . Once you have stapled about 3/4 of the fabric to the cardboard backing, start stuffing it with cheap pillow stuffing. (I bought some for $2.99 at Hobby Lobby plus you can use one of their weekly 40% off coupons!) I stuffed my center until it was round and fluffy, but there is no particular amount you should use. Once it is stuffed to your liking, close the rest of it up by stapling it shut.
Next, I criss-crossed four strands of ribbon and stapled each strand on the back. I was originally going to leave my decoration at this point so I could use it as a cork board/ picture holder, but then I got the idea to decorate it with my fabric rosettes instead. So ladies and gents, it is up to you! If you want to use it to hold to-do lists, pictures, notes, etc., then you are all finished! If you are like me, and want to use it as a decoration then add some flowers to spruce it up! Voila! You are finished and have a statement piece for any room in your house!
If you have any questions please send me over an email!
Good morning! Today I got ready suuuuuuper fast for school...maybe because my hair is in a pony tail and I just tossed on my oh-so-cool Utah Jazz jacket. Nice. Anyways, I wanted to share a few details with "how-to's" (coming in later posts) of the decorations in my room so here we go!
I have moved apartments once again! That will be 3 different apartments in one year - HOORAH!! Although the actual carrying boxes part of moving is tiring, sweaty, and takes all day, I love switching areas and reorganizing everything :) Here's what my room likes like at my new place. Very similar to my old apartment, but I told myself that every time I moved I couldn't re-do my whole room (like I've done previously). So here we are with the same cute comforter and lots of pink!
How to #1:The IKEA "queen frame". Doesn't it look like I'm trying to say, "Hail all who sleep in this bed!" Yeah I think so. But besides that, I LOVE this frame!
How to #2: The one aqua pillow behind my super cute pink pillow (found at Target last fall). My friends and I made pillows last summer and it was surprisingly super easy! Details to come!
And that would be my awesomely large closet that for some reason doesn't fit all that I want it to. ATTENTION PEOPLE!! I have way to many clothes!!! But in all fairness to me, some of my stuff is from the 9th grade and I haven't really done much growing since I was 14. For some reason I haven't been able to part with some of my stuff. Sigh. Even though it gets worn like once a year.
How to #3:Frames! Frames! Frames! A nice "toot" to come because these are super cheap, easy to make, and adorable!
How to #4: My invented earring holder is ammmmmazing. Can anyone guess what that is supposed to be used for?? :)
How to #5:The wreath ♥ This was a last minute summer project that my friend Marlena told me about. We both made one. In grey.
Alrighty well that's all! And perfect timing because now I have to go to escuela! Have I mentioned that I am going to school full time, working 2 jobs, and running my awesome business? Yeah life gets kinda crazy. Which is why I blog at 7:00 a.m. when most college students are hitting the snooze button. :)